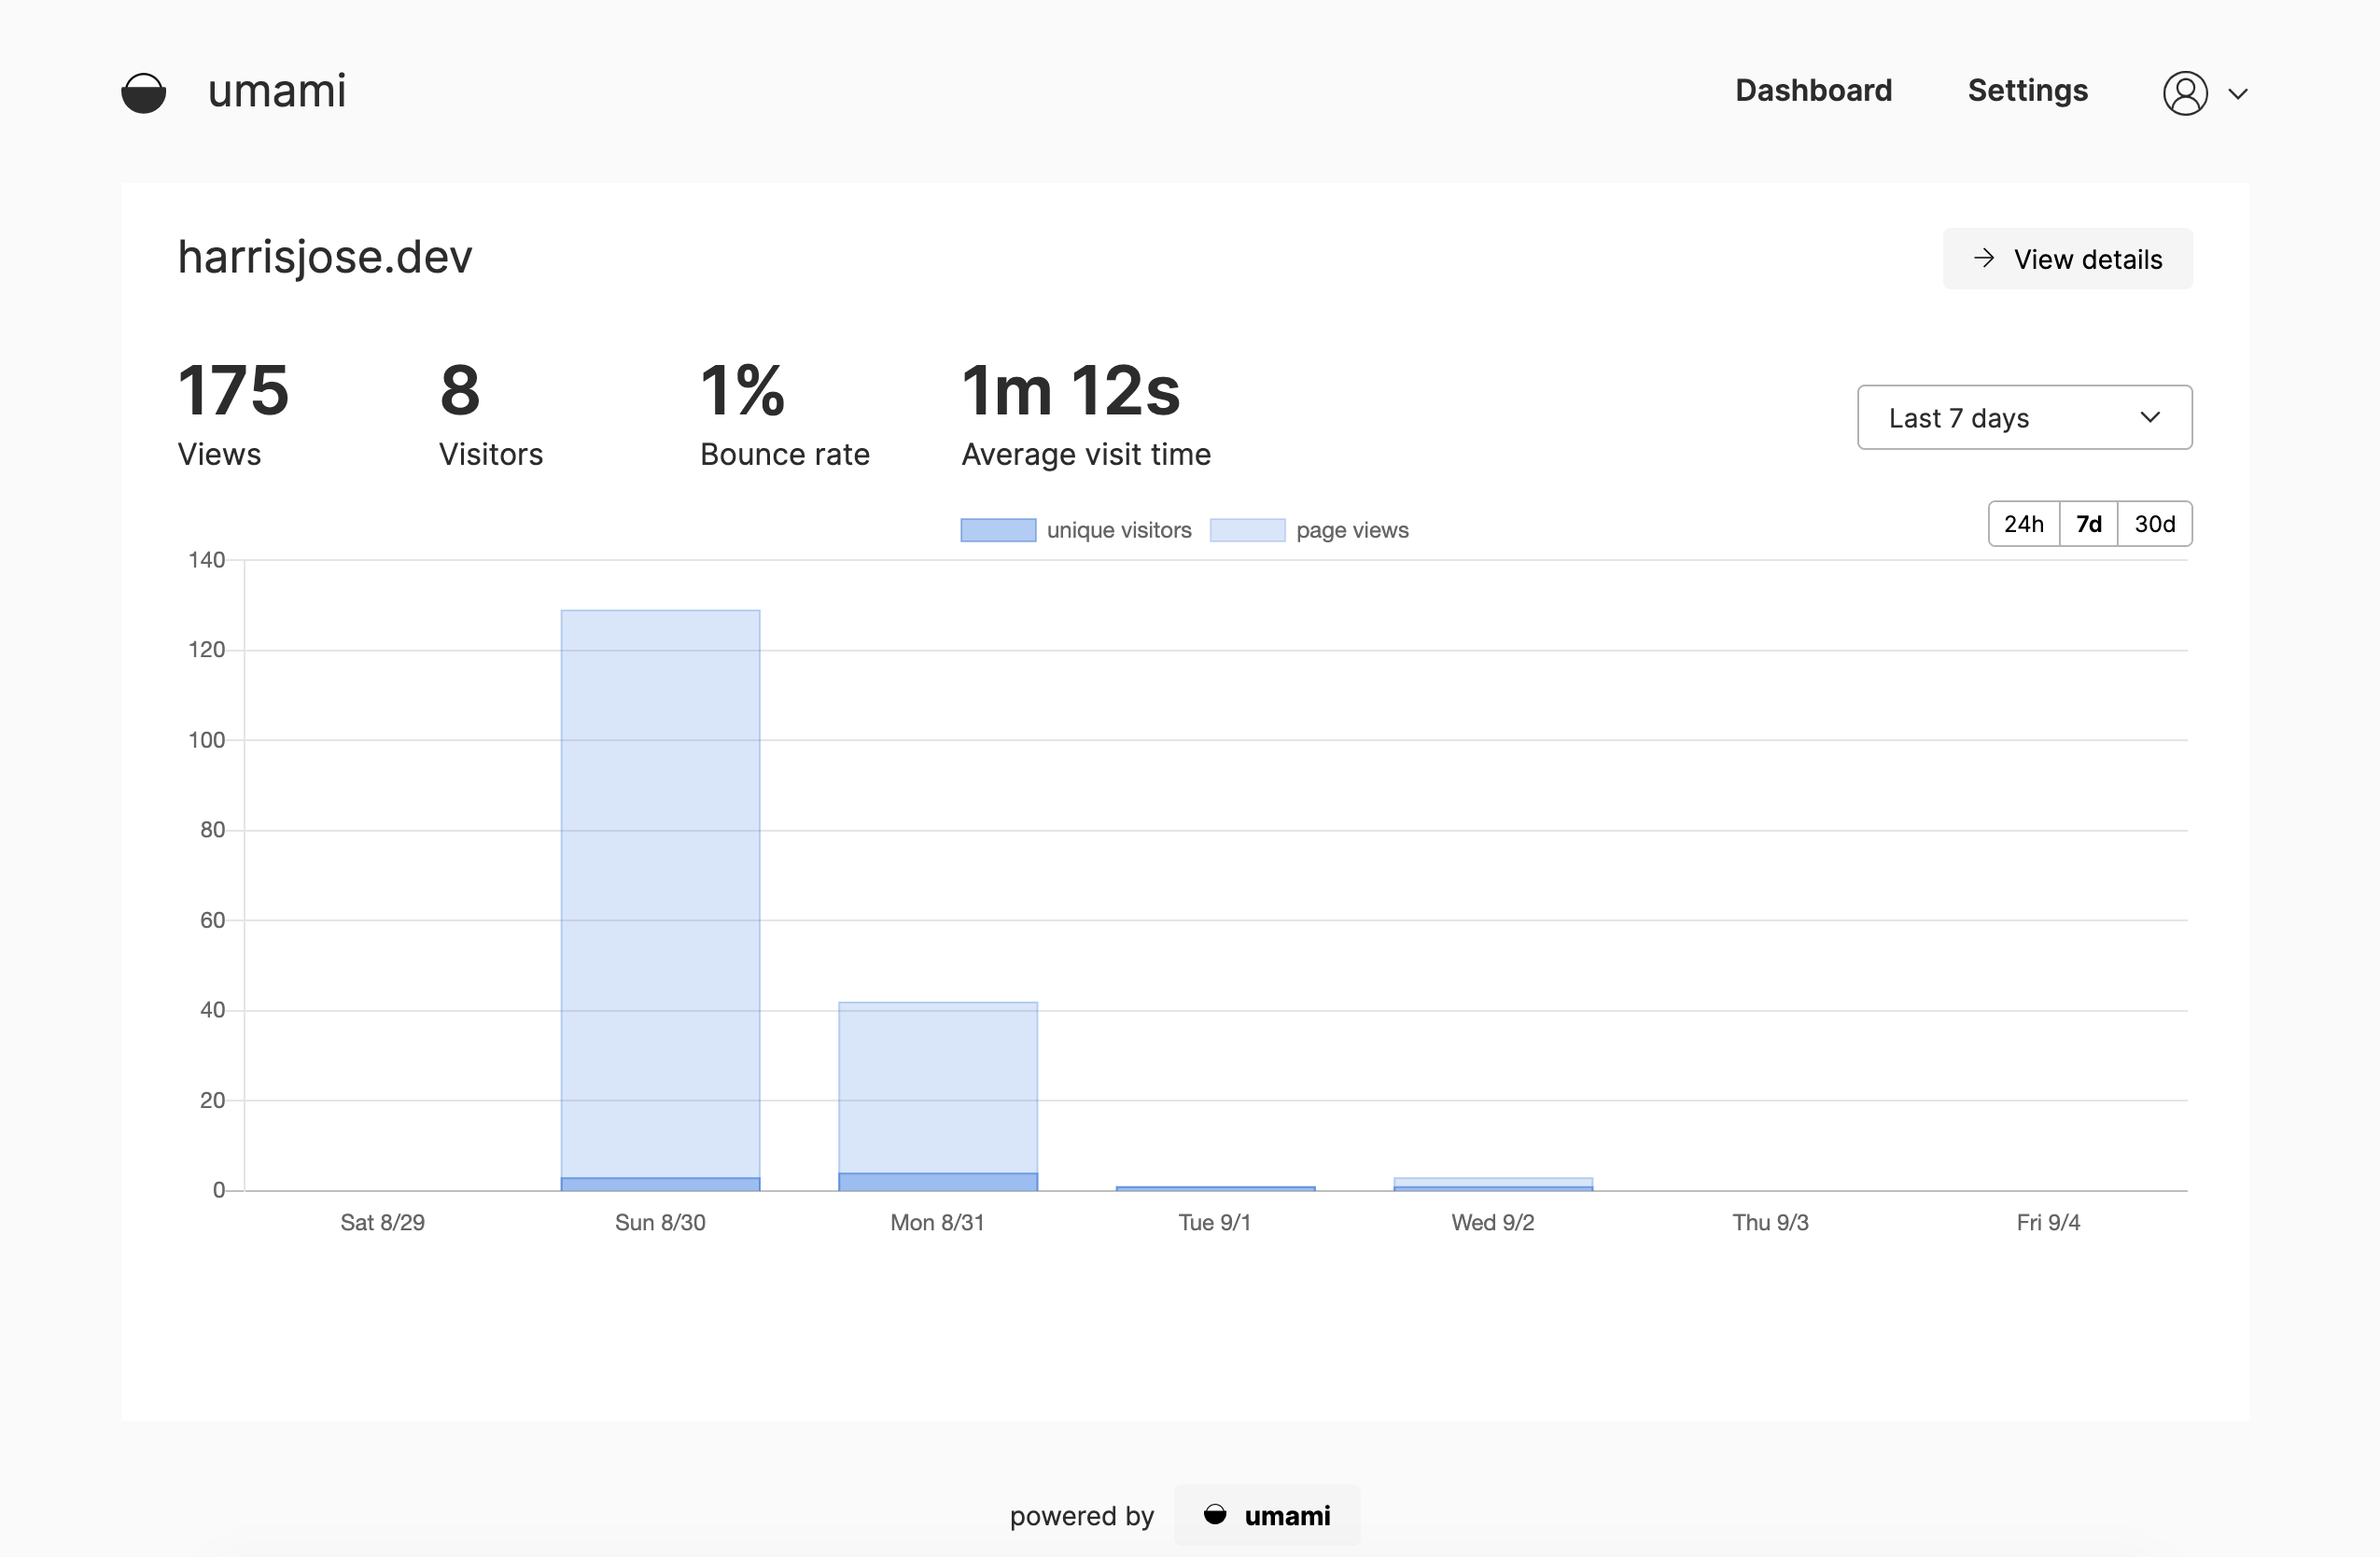
Self hosted website analytics, on a budget
I was looking at alternatives to Google analytics recently and found Fathom, Plausible and Umami. Umami is an analytics service built with next.js and prisma, both of which I use regulary in side-projects, so that helped tip the scales in it's favour.
How is this free?
Vercel has free hosting for hobby projects and so we only have the database part to figure out. There are a lot of services that provide managed databases and some of them come with a free tier, so pick any one of these and you're good to go.
I went with Amazon RDS because I've been looking to get more familiar with the various services AWS has and this seemed like a good chace to play around (RDS is not free forever though, so thats something to keep in mind).
Setting up the database instance
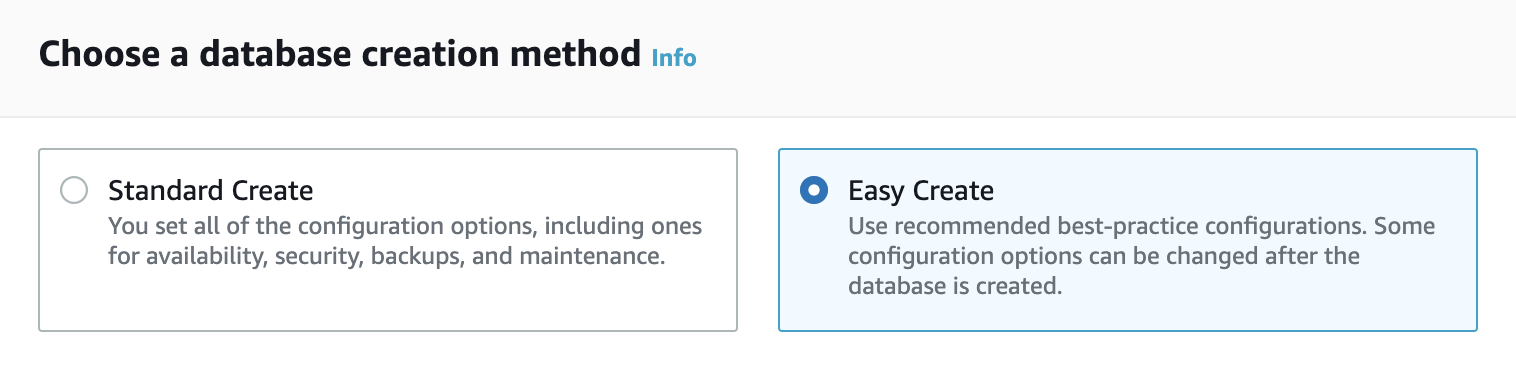
Once you've logged in to the AWS console, look for RDS open up the dashboard. Click on Create database and you'll have to option to create an instance (You can click on Easy Create because there isn't a lot we will be changing here).
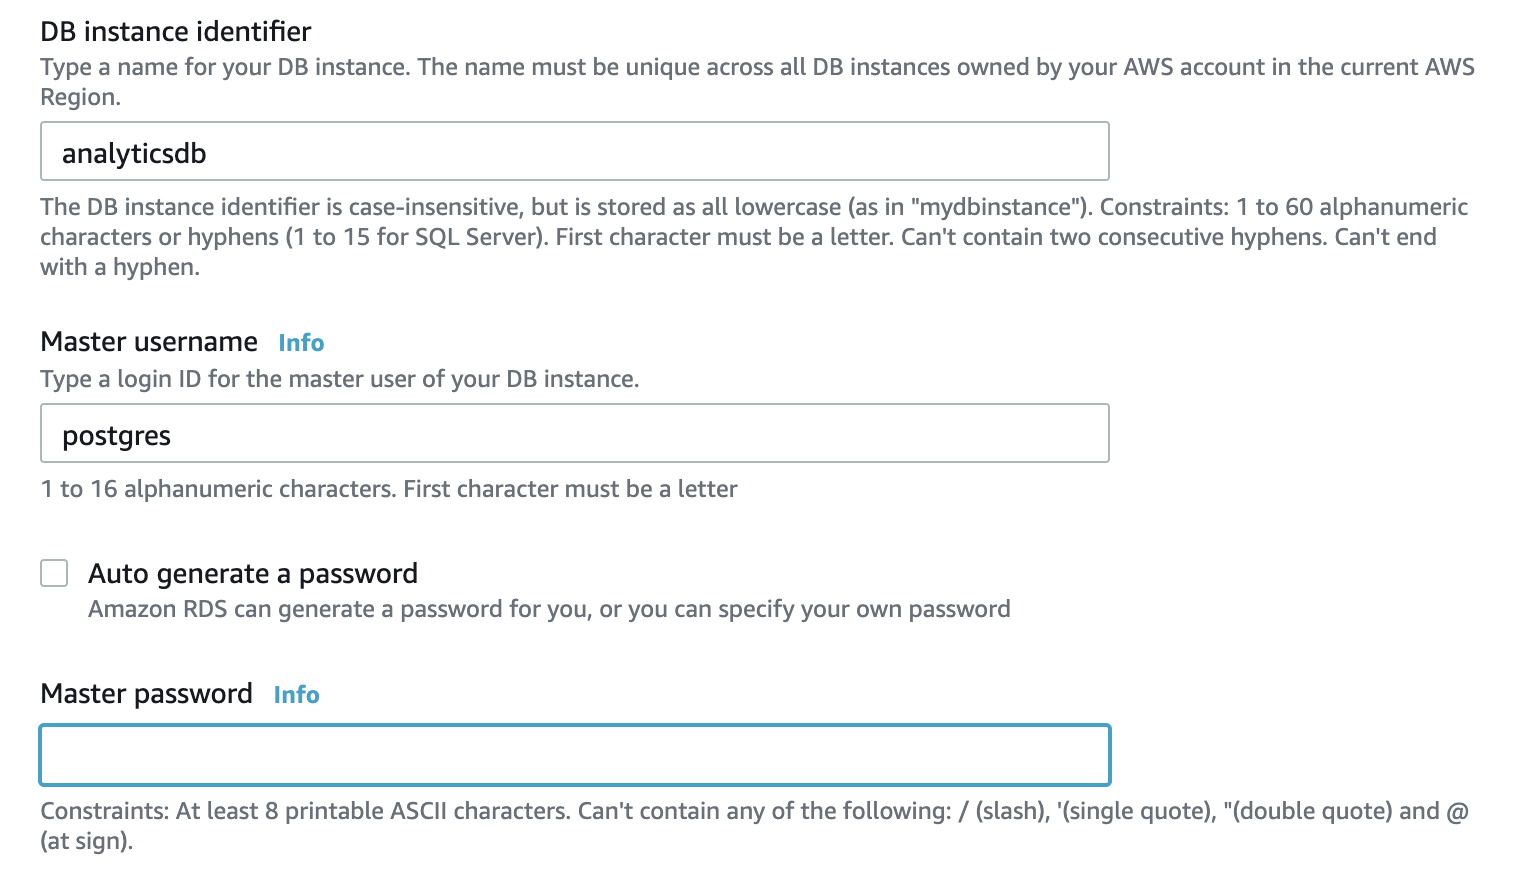
Umami works with both MySql and PostgreSQL so pick one of those. In the DB instance size options, pick the Free tier. Then give the instance a name and set the default user and password.
The database is private by default but we need to make it public so that it can be accessed it from within the umami instance. To do this, click on 'Modify' in the database screen and change the Public accessibility setting to Yes.

For a more detailed guide to setting up RDS, click here
Creating the tables
To create the tables needed for umami, you'll need to run a few queries. I really recommend Postico if you dont already have a client that connects to postgres. Connect to your databse with the endpoint of the RDS instance and run the queries in umami/prisma/schema.postgresql.prisma.
Configuring umami
Deploying on vercel is easy. All you have to do is click on Import project from the dashboard, select Import Git Repository and paste in https://github.com/mikecao/umami. Vercel will let you fork it and then instantly start a new deployment.
You'll also need to add a few environment variables to let umami know how to connect to your database. Just follow the instructions here and that's pretty much it.
If you already have an site running on vercel, a cool thing you can do is set it to run under a subdomain. Mine runs at umami.harrisjose.dev. Just enter the domain in Settings -> Domains and you should be ready to go.
Adding the tracker to your website
Now that you have everything set up to start using umami, login in to the umami deployment from vercel and login with the default username and password.
Go into settings and add a website. Then click on the </> icon to get the tracking code. You'll need to add this to all your pages. Once the tracker is live you should instantly start seeing data in the umami dashboard.